Recorder & Player
Overview
A simple audio recording and playback tool. It allows you to play test signals (such as sweeps or noise) to input into a circuit, or record output results and save them to files. It supports loading common audio files such as WAV, MP3, FLAC, and OGG.
☕ Coffee Break: Why is "Recording" necessary for measurement?
It is difficult to monitor unpredictable issues, such as occasional popping noises, using only a real-time oscilloscope. By recording the signal over a long period, you can easily review the exact moment an issue occurred and use other tools to analyze the waveform later.
Operations
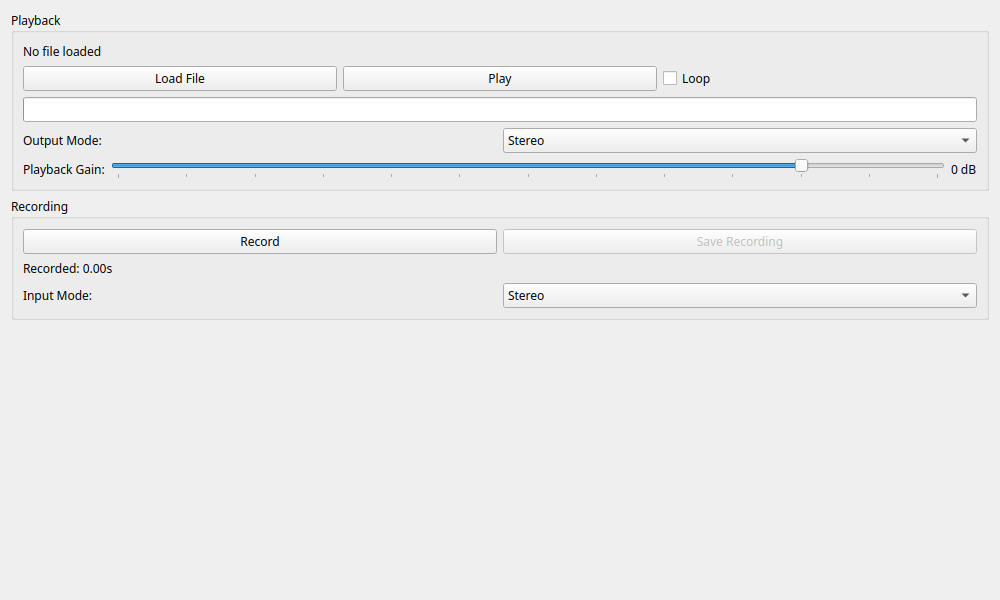
Playback
Load and play files.
- Load File: Opens an audio file.
- Sampling Rate Conversion: If the file's sample rate differs from the application's operating rate (e.g., opening a 44.1kHz file while the app is set to 48kHz), you will be asked whether to automatically resample it. Usually, loading it as-is is fine.
- Limit: There is a file size limit of 500 million total samples (approx. 1 hour 26 mins for 48kHz Stereo). Files exceeding this limit cannot be loaded.
- Play / Stop: Starts and stops playback.
- Loop: When checked, the file will repeat from the beginning after reaching the end. Useful for continuously outputting test signals.
-
Player Progress: A seekable slider indicating the current playback position. You can click or drag to seek to a specific position.
-
Output Mode
- Stereo: Outputs the file's L/R channels as-is.
- Left / Right: Outputs only the specified single channel.
- Mono: If the file is stereo, it mixes the left and right channels to mono and outputs the same sound from both output channels.
-
Playback Gain: Adjusts playback volume digitally (-60dB to +12dB).
Recording
Records input signals to memory and exports them as files.
- Record / Stop Recording: Starts and stops recording.
- Save Recording: Saves recorded data to a file. This can only be pressed when recording is stopped. Saving is performed in the background with a progress dialog, preventing the interface from freezing even with large files.
-
Input Mode
- Stereo: Records both L/R channels.
- Left / Right: Records only the specified single channel.
-
Recorded Info: Displays the current recording duration in seconds.
Usage Examples
Using as a Signal Source
Prepare a WAV file containing pink noise or a sine sweep, play it with this tool, and observe it with a measurement instrument (such as a Spectrum Analyzer).
- Load a test signal file using Load File in the Playback section.
- Check Loop if you want to output the signal continuously.
- Press Play to start playback.
- Open another widget (such as the Spectrum Analyzer) and verify that the input signal is being received correctly.
- By switching the Output Mode, you can send a signal only to the left channel to measure crosstalk (leakage into the right channel), for example.
Capturing Abnormalities
If a circuit is producing abnormal sounds, you can record them to keep as evidence or for detailed analysis later.
- Verify the input settings in the Recording section.
- Press the Record button and reproduce the situation where the abnormal sound occurs.
- Once enough data is recorded, press Stop Recording.
- Press Save Recording and save it with a name like
evidence.wav. - The saved file can later be loaded and played back in this tool or opened in waveform editing software.