Inverse Filter
Overview
A tool for creating and applying a filter to an audio file that "cancels out" a system's frequency response (such as the idiosyncrasies of speakers or microphones) obtained through measurement.
It measures the frequency response of a target such as a microphone or speaker, and calculates the inverse characteristic (inverse filter) needed to cancel it out. By applying this to an audio file, you can synthesize audio that is close to an ideal, flat response.
Operations
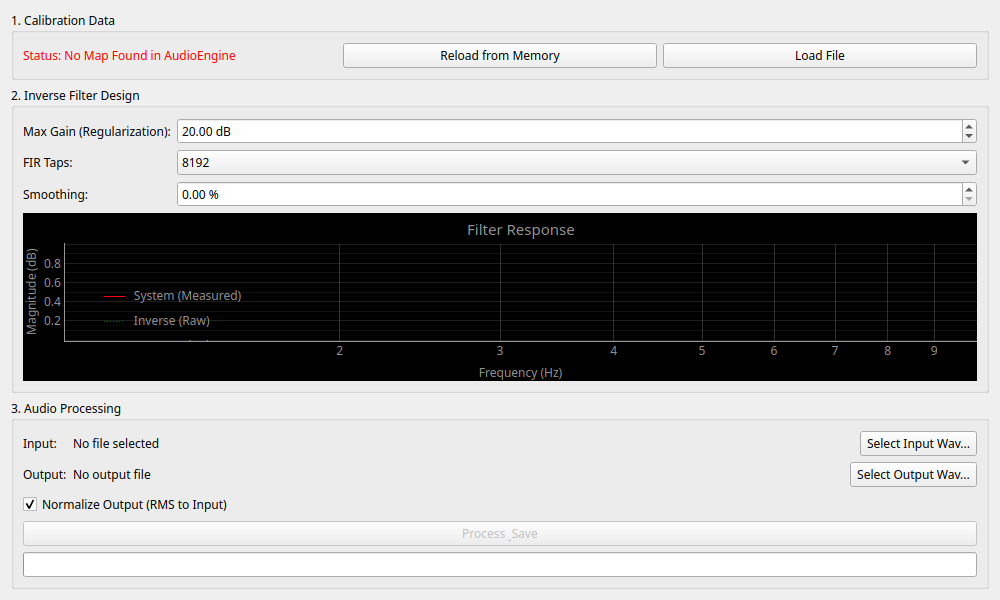
Load Calibration Data
First, load the characteristic data to be used as the basis for correction.
- Reload from Memory: Directly imports the latest measurement data that the app currently remembers, such as what you just measured with the
Network Analyzer. - Load File: Loads a previously saved calibration data file in
.jsonformat from your computer.
Filter Design
Adjust the "strength" and "detail" of the correction filter based on the loaded data.
- Max Gain (Regularization): The "maximum allowable limit" for boosting sound during correction.
- FIR Taps: The resolution of the filter. A larger value (e.g.,
8192or16384) allows for more precise correction, but requires more computational power. Usually, around8192is recommended. - Smoothing: Smooths out fine jaggedness (peaks and dips) in the characteristics. This helps prevent the sound from becoming unnatural due to overly sharp corrections.
☕ Coffee Break: Why is Max Gain Needed?
If the speaker cannot output certain frequency bands, the inverse filter will try to raise the gain infinitely to flatten it, causing excessive noise amplification. To prevent this, Max Gain limits the maximum correction value (e.g., 10dB) to avoid noise generation from extreme amplification.
Audio Processing
- Input: Select the audio file (WAV format) you wish to process.
- Process & Save: Saves the audio file with the filter applied.
Settings
- Normalize Output (RMS): Because correction boosts or cuts certain frequency ranges, the overall "perceived volume" might change. Checking this box automatically adjusts the volume (normalizes) so that the processed file has the same perceived loudness as the original file.
Usage Examples
- Microphone Correction: If the frequency response (quirks) of your microphone is known, applying the inverse characteristic to a recorded voice can result in sound quality that is more faithful to the "true original voice."
- Simple Room Acoustic Correction: This can be utilized in acoustic research to bring recording results that include the specific reverberations of a room (reflections and standing waves) closer to a flat state.